Running Training
This Step Trains the Model of the CCTV AI project. This assumes you have run the previous set Notes for 'Running DNV' if not your database is not set up for training go do that.
The start of this is the last step (11) of running notebooks. Link
Log into tmux
tmux -a
CD into the gqc_utility_notebooks repo for the cctv_cv
cd /home/gqc/git/gqc/gqc-utility-notebooks/gqc_utility_notebooks/cctv_cv/
If you are running a second video group in the same database running the python file will override the following database tables.
- frames_train
- frames_test
You need to save previous results by renaming the tables with something meaningful before running python runner.py. I am running multiple video groups so adding _videogroupname is sufficient for my current needs. It would be best for less confusion to rename the tables before making changes to the notebook.
Change the video group by modifying the notebook 11 cctv-prepare-cctv-training-csv

Then run the export.
nbdev_export
Check the Python file training_data_splitter and make sure the Export worked.
Switch to the gqc-utility-notebbooks virtual env.
workon gqc-utility-notebooks
Run the python code. Make sure you are running the correct script open runner.py and make sure the '' is uncommented and everything else is commented out.
This assumes you are not debugging. If you are debugging you would use the debugger function already written out in launch.json Also to debug a python file you will have to have that python file as the active window in vs code.
In runner.py check that the correct python file in this case Notebook 11 is the only one uncommented. Also check the YAML.
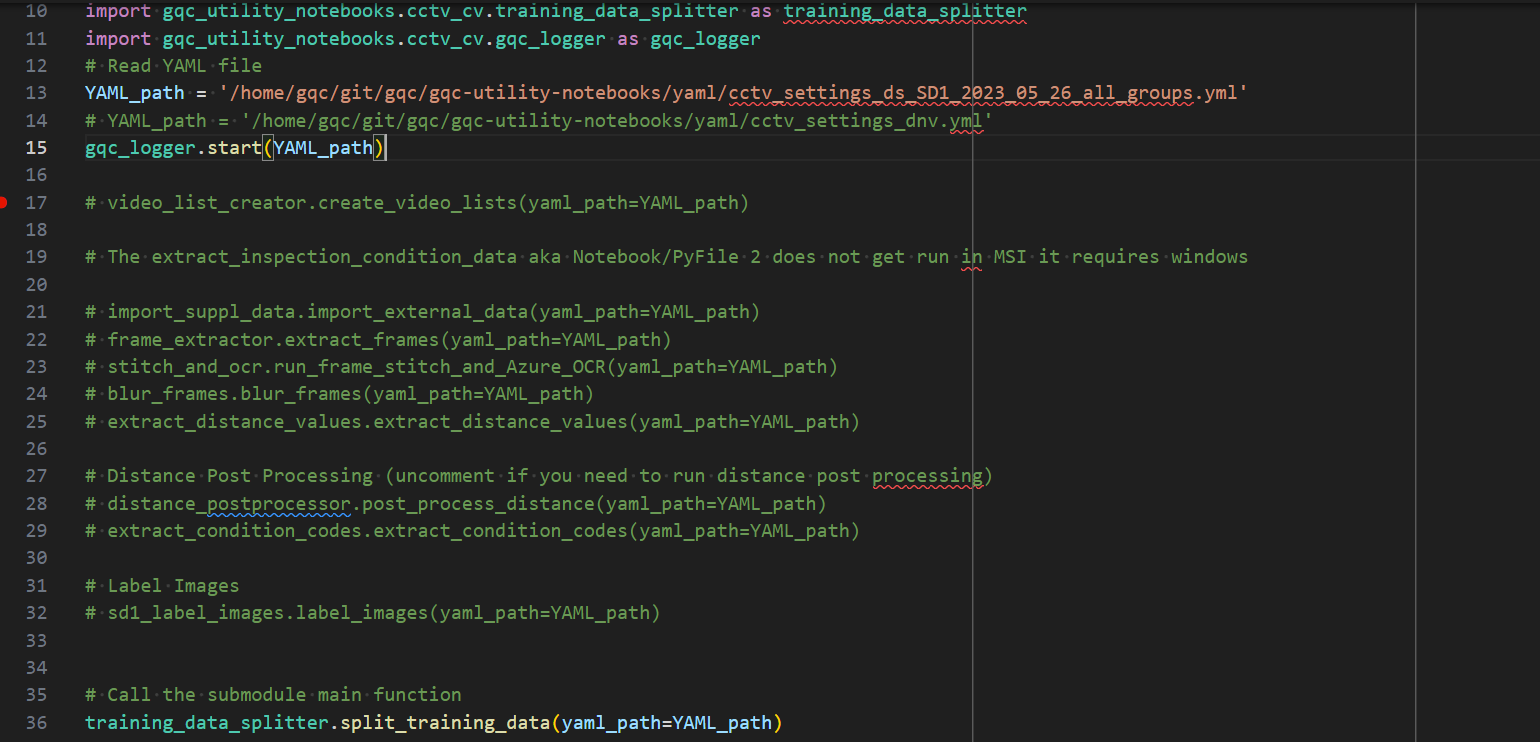
python runner.py
Open up your database and verify using the following query that the frames_train and frames_test are populated correctly. Make sure you video group is correct especially if you are running multiple video group in the same database.
select A.*, B.video_group from frames_train A, frames B where A.fname = B.frame_id ;
select A.*, B.video_group from frames_test A, frames B where A.fname = B.frame_id ;
Now you are ready to move over to the compute msi repo so change the path in your tmux cmd line.
cd ~/git/gqc/compute-msi/sewer_ml
switch to the compute-msi virtual env.
workon compute-msi
This assumes you are not debugging. If you are debugging you would use the debugger function already written out in launch.json
Check the settings.py file and make sure the paths are correct.
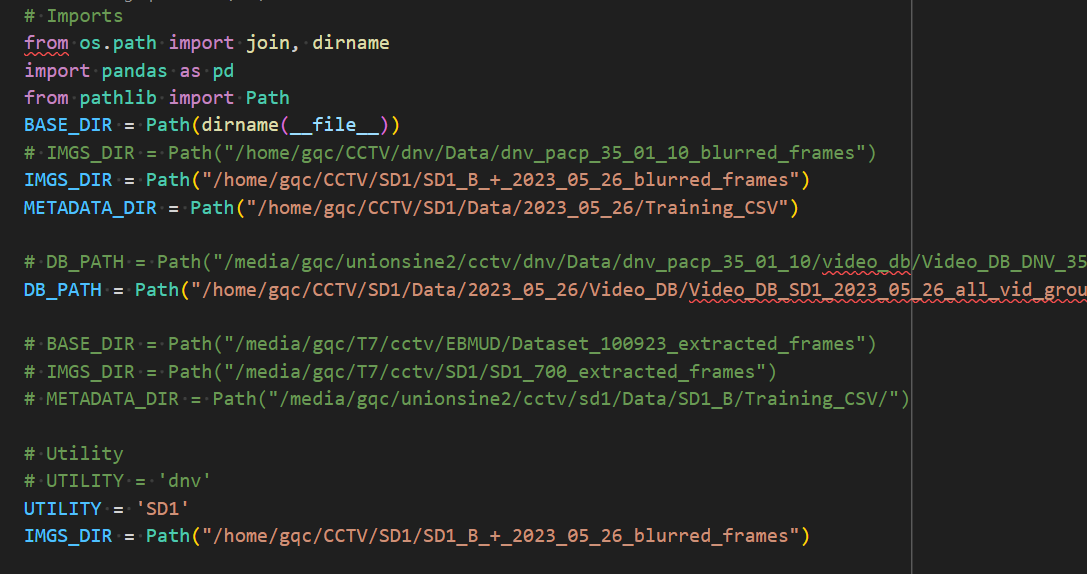
Running the python code. For the batch size please look at Link
./localrunner.sh -s fastai_multi_label_v3_generic -r name_of_model -b 12 -e 10
Open a new terminal and watch the MSI stats.
watch nvidia-smi